A Guide To Carving A Turkey
Welcome to our comprehensive guide on the art of turkey carving. Whether you're preparing for a festive feast or a special gathering, mastering the skill of carving a turkey can elevate your dining experience. While it may seem intimidating at first, our straightforward six-step tutorial will provide you with the confidence to expertly carve a turkey, turning it into a centrepiece that's not only visually pleasing but also delectable. With minimal effort and the right technique, you'll soon be serving perfectly sliced, succulent turkey that will leave your guests thoroughly impressed.
While this is a turkey carving tutorial, these tips can be used an all kinds of birds such as chicken, goose, and pheasant.
So, pick up your Viners® Assure Elite Carving Knife, roll up your sleeves, and join us on a journey to carve a turkey like a professional.
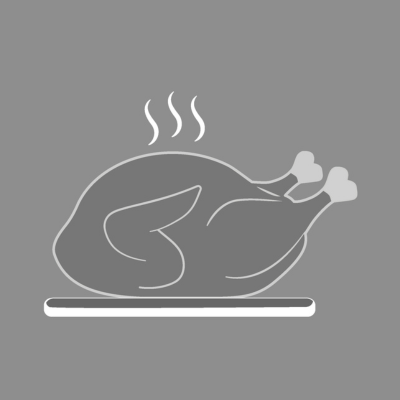
Step 1: Cooking and Resting
Allow the cooked turkey to rest and cool for approximately 20-30 minutes before proceeding to the cutting board.
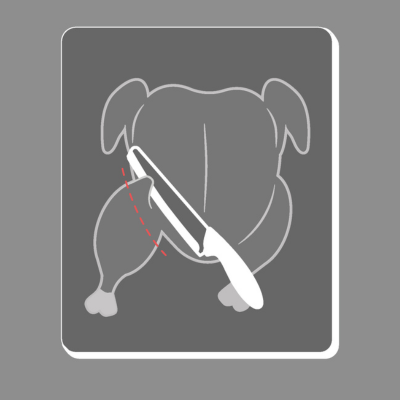
Step 2: Removing The Legs and Thighs
Gently pull the leg away from the body to expose the joint, then use the knife to delicately slice through the joint.

Step 3: Separating The Drumsticks
Separate the thigh from the drumstick by carefully cutting through the joint.
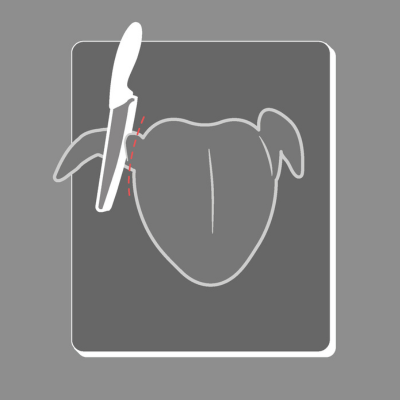
Step 4: Removing The Wings
Extend the wing to the side and locate the joint where it connects to the body. Skilfully cut through the joint to remove the wing.

Step 5: Removing The Breast
Identify the breastbone running down the middle of the turkey's breast. Make a vertical cut along one side of the bone.
Using smooth, gentle strokes, guide the knife along the breastbone, utilizing a carving fork to assist in pulling the meat away slightly. Proceed slowly to cleanly separate the meat.
Repeat the process on the opposite side.
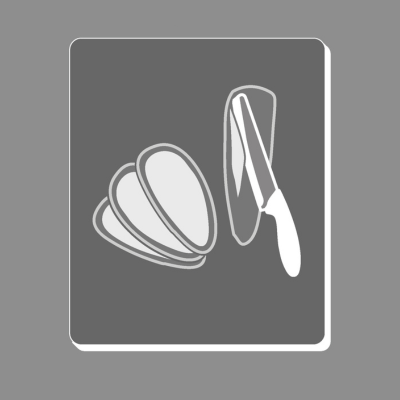
Step 6: Slicing and Serving
Slice the breast meat into thick, uniform pieces. Arrange them at the centre of your serving plate before placing the wings, thighs, and drumsticks around the edges.
Keep in mind that practice makes perfect. With each turkey carving, you'll refine your technique and build confidence. So, the next time you're presented with a golden-brown turkey waiting to be carved, you'll approach the task with ease and mastery. Pair your perfectly carved turkey with your favourite side dishes and relish the satisfaction of not only creating a delicious meal but also a culinary work of art. Happy carving and bon appétit!
Additional Tips
- To create even, thin slices, make a horizontal cut just above the wing, following the contour of the breast.
- Arrange the sliced turkey meat on the serving platter, alternating between light and dark meat for an appealing presentation.
- If desired, garnish the platter with herbs, fruits, or other decorative elements.
- Always exercise caution when handling sharp knives and utensils, and ensure you have a clear and spacious workspace for comfortable carving.
