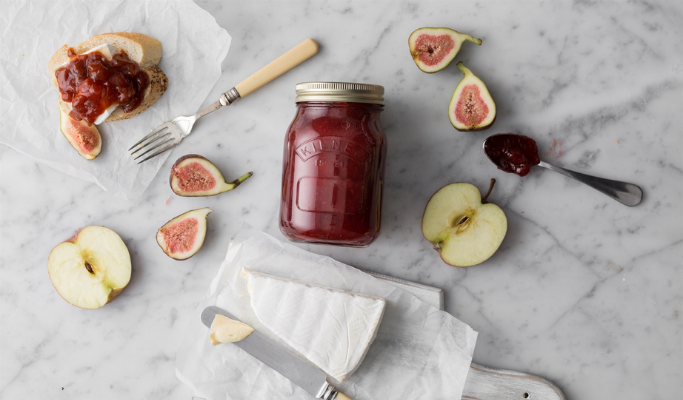
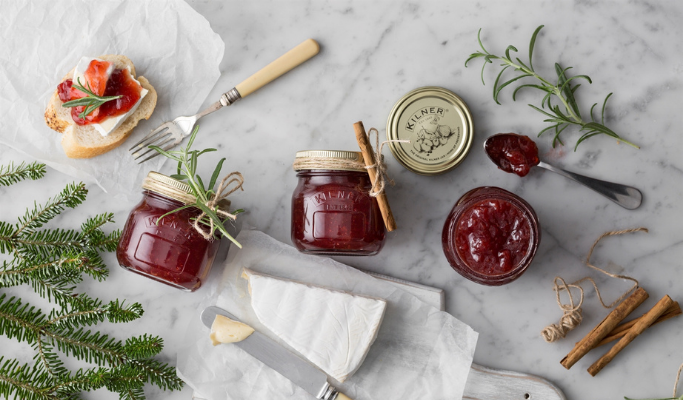
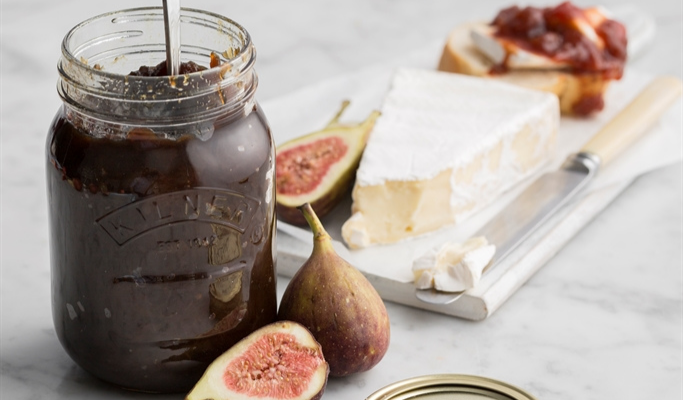
Checklist for Chutneys
Follow our chutney guide to ensure your homemade chutneys turn out perfect!
1. Don't rush
When starting to make your chutney make sure you have allowed yourself at least 2 hours because chutneys are better when they are not rushed. The more time you spend making it the better the end product will be!

2. Be Precise
To make a chutney which not only tastes good but is also appealing to look at make sure you spend the time when preparing the fruit and vegetables to cut them all into the same size pieces.
3. Allow for a long cooking time
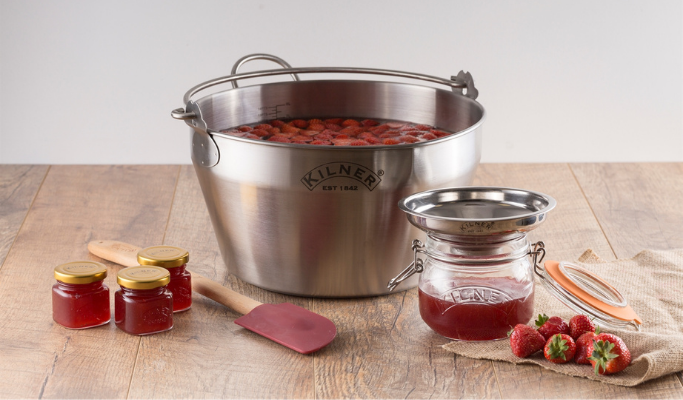
It is essential that chutneys are allowed a long and slow cooking period in a pan that is not covered with a lid. This will allow your chutney to become rich and smooth. The Kilner® Preserving Pan is perfect for this.

4. Stir Continuously
You must not allow your chutney to burn on the bottom of the pan, as this will flavour the whole batch so when you are nearing the end of the cooking time make sure you stir it continuously.
5. Check That The Chutney Is Ready For Potting
You can check that your chutney is the right consistency and ready for potting and sealing by running a wooden spoon through the chutney across the bottom of the pan to form a channel. If the chutney immediately fills the channel it is not the correct consistency yet, but if the channel is still visible after 2 seconds then the right consistency has been reached.
6. Allow to Mature
Chutneys are best eaten after a long maturing period so we recommend storing them in a cool, dry dark place and leaving them for no less than 8 weeks before opening them.


