
Come and take a seat in our beautiful, fruitful Kilner® allotment.
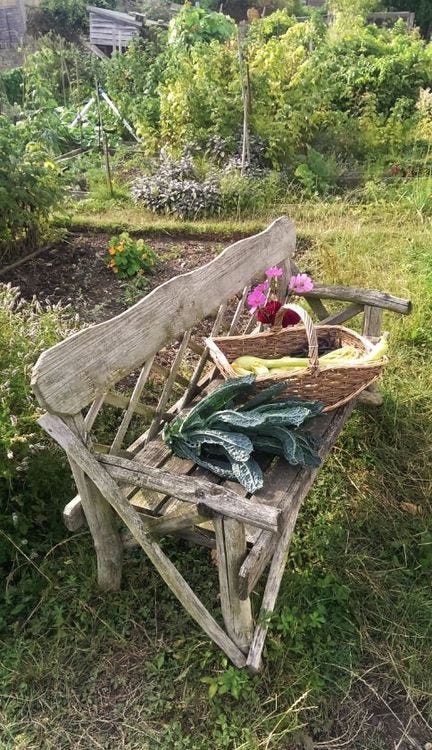
We have been hard at work, planting, watering and maintaining our fruit and vegetables over the past couple of months and now we are seeing our hard work pay off.

The thought of biting into food that you have taken the time and effort to grow yourself, is amazing.
Check out the size of this squash!

Growing food isn’t always easy. We have been challenged with gale force winds and torrential downpours, which can ruin the best farmer’s crops! If you want to protect your hardwork, harvest as much crop as you can and support shoots with posts and garden twine, wrapped around in a figure of 8. A little bit of luck will go a long way too!
Courgettes are now ready to pick, so we have preserved some in olive oil, to enjoy at a later date.

Recipe:
What you need:
8-10 courgettes (assorted size, small to medium)
6 garlic cloves
6 juniper berries
1 teaspoon peppercorns
750ml supermarket brand extra virgin olive oil
Makes 2 x 0.35 litre round clip-top Kilner Jars
Method
- Slice the courgettes lengthways so that each slice is about 6mm thick.
- Layer slices in a colander and sprinkle with salt to draw out excess moisture, leave aside for about an hour.
- Sterilise the Kilner Jars (water bath method).
- Using paper towels, pat dry each slice.
- Put a cast iron char griller on a low heat and place a single layer of courgette slices on the ridged cooking surface. Cook slowly, turning once. The aim is to dry out the slices as much as possible, not really to ‘cook’ them. The slices should have only faint ridge marks and the surface should look pale, dry and a little like suede. The slices should also have reduced in thickness. You will have to cook the courgettes in batches unless you have multiple char grillers on the go.
- Using tongs, pack the cooked courgette slices in the jars, as the slices are now quite soft they flop in nicely and can be wound around the inside of the jars.
- Divide the garlic cloves, juniper berries and peppercorns between the 2 Kilner Jars, tucking them in-between the courgette slices gently.
- Top up each jar with the olive oil, making sure all the contents are completely covered with oil.
- Seal jars and place in a cool dark place.
The Courgettes will be ready in a week to 2 weeks. Use within a month or so as they will go a little soggy if left too long!
We are planning to eat them as Antipasti with parma ham and rocket, or with goats cheese on a warm ciabatta…
You can also use the infused olive oil for drizzling salads, pasta etc.

If you are attempting to grow your own veggies at home or in an allotment, here are our favourite top tips:
Growing tips and tricks
1) Pick, pick and keep picking! Beans, courgettes and peas all produce more and more quickly if you pick regularly.
2) Squash (Kabocha, Butternut, Marina De Chioggia etc.) as the fruits develop, place a brick under them to raise them off the soil so that as they grow larger they do not get a ‘soggy bottom’ and the slugs are less likely to attack.
3) Snip off any leaves that are shading fruit.
4) Water really well, even if it has rained. Most plants need the equivalent of an inch of rainfall per week to thrive.


